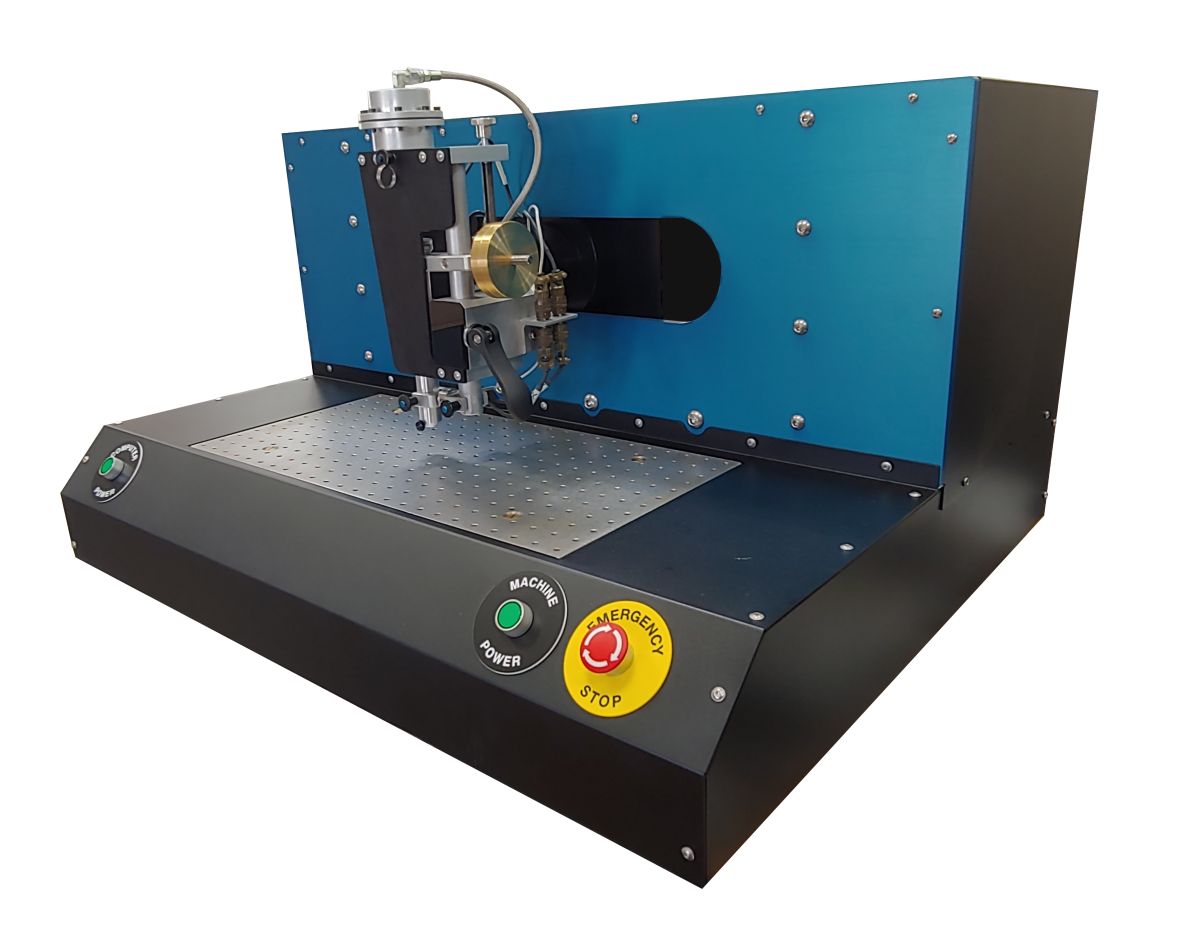
Scratch 5.5 Machine
 The Scratch 5.5 Machine is a scratch and mar testing instrument for macro scratch. It is a research grade polymer, coatings, films, and bulk materials tribology instrument, capable of exploring scratch, mar, and other surface properties in a rigorous and meaningful way.
Common industry applications include:
- Automotive, aerospace interiors, exteriors, and coatings.
- Food packaging and labeling.
- Aerospace wear resistance.
- Consumer electronics scratch and mar resistance.
- Home and furniture scratch resistance.
- Down-well coatings scratch resistance.
- Industrial automation production line scratch and wear performance.
4 Axis Instrumentation
Normal and tangential load (up to 400N), micron depth resolution, and high resolution tangential data at up to 2000 samples per second.- Normal Load: 600N, 0.05% accuracy.
- Normal Load: 100N, 200N, 0.25% accuracy.
- Depth: 50mm, 5 micron accuracy.
- Puncture detection (optional)
- Up to 2000 data points per second, in situ
High Speed, High Load
The Scratch 5.5 Machine applies real-world loads at macro speeds. Up to 400 mm per second at up to 400 N of load.- Velocity: 1 to 400 mm/s, programmable.
- Load: 1 to 400N, progressive profile or constant load, programmable.
Multiple Test Modes
Rising, falling and constant-load scratch and mar. Capable of reciprocation (wear) and indentation. Replicates a variety of industry standards including ASTM D7027-05, ISO 19252-12, ASTM D5178, TAMU/Avery-Dennison Mar, Ford 5-finger, Erichsen cross-hatch, pencil-hardness (dead load), Volkswagon PV3952, GM 14688-A-10N. Surface Machine Systems is a member of the D20 ASTM committee and works with the PTC SCRATCH Consortium and other industry partners to help develop and promote rigorous tribology standards.- ASTM D7027-05
- ISO 19252-12
- Cross-hatch: scratch, mar
- Mar: high gloss and matte surfaces
- Textured & Printed surfaces
- Progressive rising load (programmable strain rate)
- Constant load: 5-Finger, Cross-hatch, D5178
Programmable Progressive Load Profiles
The G5.5 machine is fully programmable from 1 to 400 mm/s, and loads from 0.5 to 400N (depending on configuration). Each test can be run as a progressive load, using any valid load range as a start and end point. You can dial specific strain rates to test for specific material features.Options and Peripherals
- Field Indexing (Y-Axis) Manual or automatic Y-Axis control for the machine to assist with indexing over test samples.
- Thin Film/Pneumatic Chuck A specialized pneumatic chuck that can hold films and thin films steady for testing. This system uses sacrificial backing plates that can be interchanged to mimic the substrate common to each film. This option can also be combined with our hot plate.
- Temperature Control (Hot Plate) This plate will heat and hold sample temperatures up to 150° C.
- Turn Table This automatic or manual plate is used in conjunction with cross-hatch testing to help improve the testing speed and reliability of these types of tests.
- Puncture Detection Used in conjunction with the film chuck, this option allows the equipment to detect and mark the location of film puncture.
- Reciprocation/Wear This option is used when reciprocation or wear testing is required for performance analysis. It can be combined with puncture detection on films.
- Alternative Styli Geometry We carry stainless and carbide ball tips in 1mm, 2mm, 3mm, 5mm, 7mm, and 10mm; tilting/mar tips in 12mm & 6mm barrel; 5x5mm and 7x7mm abrasive tips; ASTM D5178 loop styli chucks.